Contents
- Introduction
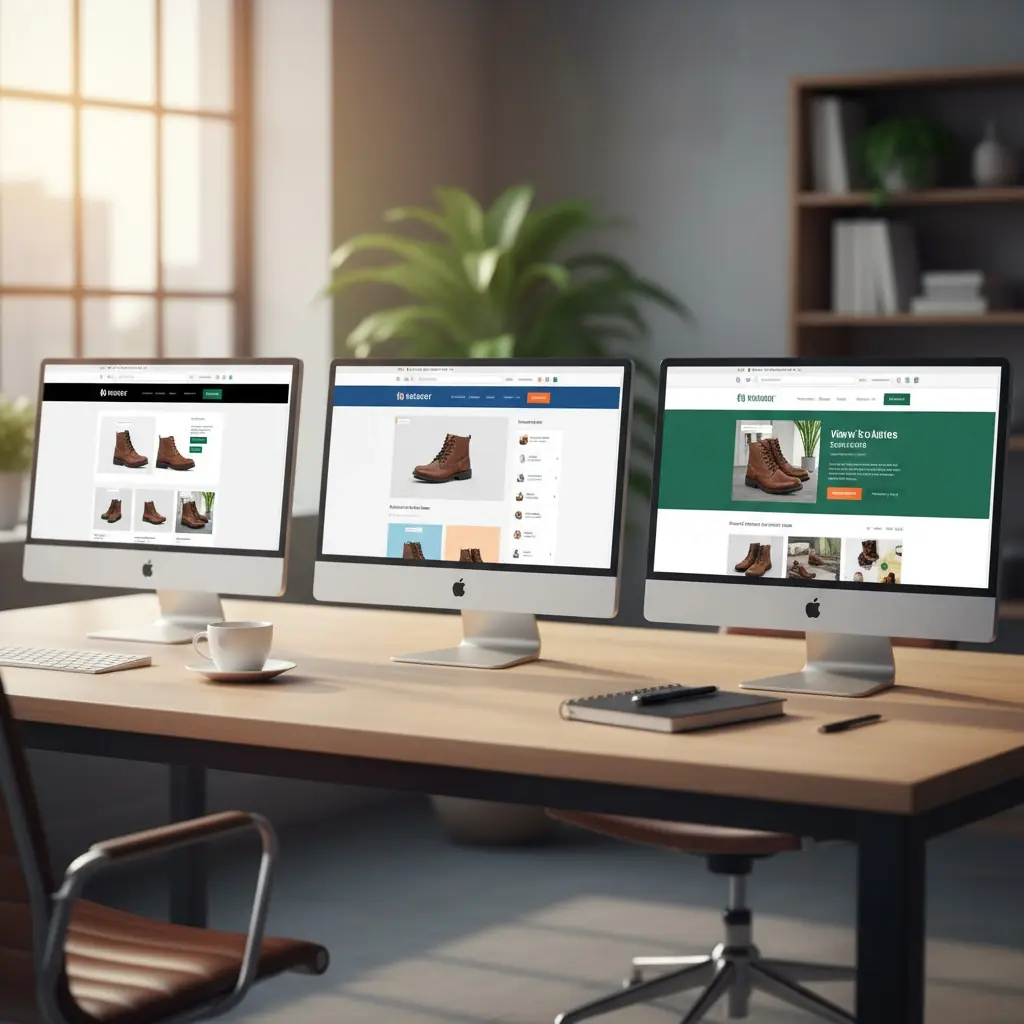
- The WooCommerce Multi-Store Image Problem
- Why Current Solutions Don’t Work
- What WooCommerce Multi-Store Image Management Should Look Like
- The Ideal Workflow
- Metadata Synchronization (How It Works)
- Building a Centralized WooCommerce Image Management System
- ROI: What You’ll Save
- Real-World Use Case: Multi-Location Retail Franchise
- Getting Started
Introduction
If you’re managing product images across multiple WooCommerce stores, you already know the pain: a new product launch means uploading the same images to five, ten, or twenty different sites. A seasonal sale requires updating hero banners across your entire network. A supplier sends updated product photos, and suddenly you’re facing hours of repetitive upload work.
For agencies managing multi-location franchises or brands running regional WooCommerce stores, this isn’t just tedious—it’s expensive. Every hour spent manually syncing product images is an hour not spent on strategic work. Worse, inconsistent product images across stores damage brand trust and cost sales.
The challenge isn’t just volume. WooCommerce stores each maintain their own database and media library. Unlike a single-site setup where you update once and you’re done, multi-store environments require the same image to be uploaded, optimized, and assigned to products separately on each site. When you’re managing dozens or hundreds of products across multiple stores, the math becomes brutal: 50 products × 4 images each × 10 stores = 2,000 individual image uploads.
This guide breaks down why WooCommerce product image management is uniquely challenging across multiple stores, what agencies and brands are doing now (and why it’s not working), and how to build a workflow that actually scales.
The WooCommerce Multi-Store Image Problem
Why WooCommerce Makes This Harder
WooCommerce wasn’t designed for multi-store image management. Each WooCommerce installation operates independently with its own:
- WordPress media library
- Product catalog and SKUs
- Image attachments and metadata
- CDN or hosting infrastructure
When you need to update a product image, you’re not updating one central database—you’re updating 5, 10, or 20 separate WordPress installations. Each one requires:
- Logging into the WordPress admin
- Navigating to the product
- Uploading new images
- Setting featured images and gallery images
- Adding alt text and metadata
- Checking mobile display
- Verifying the update went live
Multiply that by your store count, and a simple product image update becomes an afternoon project.
Common WooCommerce Multi-Store Scenarios
Multi-Location Franchises with Ecommerce
Fast food chains, fitness centers, auto repair shops, and retail franchises often run separate WooCommerce stores for each location. Each store needs the same product catalog with identical images, but localized pricing and inventory.
Regional or Country-Specific Stores
Brands selling internationally run separate WooCommerce stores for different regions (US store, EU store, UK store, etc.). Products are identical, but stores are separate for currency, shipping, and compliance reasons.
Wholesale + Retail Stores
Companies running both B2B wholesale and B2C retail operations often maintain separate WooCommerce stores with overlapping product catalogs. Same products, same images—different pricing structures.
Brand + Sub-Brand Stores
Parent companies with multiple brands under one umbrella may run separate WooCommerce stores for each brand, sharing some product images across stores while maintaining distinct brand identities.
The Real Cost of Manual Product Image Management
Let’s break down what manual image management actually costs:
Time Cost Per Product Update:
- Upload and assign 4 product images: 3 minutes
- Across 10 stores: 30 minutes per product
- For 50 products: 25 hours of work
Seasonal Catalog Updates:
- New seasonal collection (100 products, 4 images each)
- 10 stores = 4,000 image uploads
- At 3 minutes per product per store: 50 hours
Sale or Promotion Banners:
- Update hero banner + category banners across 10 stores
- 5 banners × 10 stores = 50 uploads
- Plus checking mobile responsiveness: 2–3 hours
The Hidden Costs:
- Inconsistent images across stores (human error during repetitive tasks)
- Delayed product launches (waiting for images to be uploaded everywhere)
- Lost sales from outdated or missing product images
- Team burnout from repetitive manual work
For a mid-size agency managing 5–10 WooCommerce clients with multiple stores each, this can easily consume 20–30 hours per week.
Why Current Solutions Don’t Work
WordPress Multisite Isn’t the Answer
WordPress Multisite allows multiple sites to share a single WordPress installation, but it doesn’t solve the WooCommerce image problem:
- Each site still has its own media library
- Product catalogs remain separate
- Images still need to be uploaded to each site individually
- Multisite adds complexity without solving the core workflow issue
Multisite is designed for content sites sharing themes and plugins—not for ecommerce operations needing centralized product image management.
Manual Workflows Don’t Scale
Most agencies and brands currently manage WooCommerce product images through manual processes:
The Spreadsheet Method:
Maintain a master spreadsheet tracking which images have been uploaded to which stores. This creates visibility but doesn’t reduce the actual upload work.
The Dropbox/Google Drive Method:
Store master product images in a shared folder, then manually download and upload to each WooCommerce store. This ensures consistency but is still brutally time-consuming.
The VA/Junior Team Member Method:
Assign image uploads to a junior team member or virtual assistant. This frees up senior time but doesn’t eliminate the hours spent—and introduces quality control issues.
None of these approaches reduce the fundamental problem: every image still needs to be manually uploaded to every store.
What WooCommerce Multi-Store Image Management Should Look Like
An effective solution for managing WooCommerce product images across multiple stores needs to:
- Centralize image storage and management — One place to upload, organize, and update all product images
- Sync images across all connected stores — Pull new images into each store’s media library when needed
- Automatically update changed images — Replace an image in the hub, and it updates everywhere that image is used
- Integrate with WordPress media library — Synced images work exactly like native WordPress images
- Maintain image metadata — Alt text, titles, and descriptions sync along with the images (see metadata section)
- Support catalog organization — Organize images by client, brand, or website for flexible access control
- Deliver via CDN — Fast image loading across all stores regardless of hosting location

The Ideal Workflow
Product Launch:
- Upload product images to your central image hub (once)
- Organize into the appropriate catalog (by client, brand, or website)
- On each connected WooCommerce store, click sync to pull new images into the media library
- Assign images to products
- Launch across all stores
Seasonal Update:
- Upload new seasonal collection images to the central hub
- Sync on each connected store to pull new images
- Assign new images to products
You have two options for handling seasonal image changes:
- Option 1: Replace in the hub. Replace the existing seasonal files directly in the central hub (same references). Connected stores automatically display the updated images—fast and low-effort.
- Option 2: Upload as new files. Add the new season’s images as additional files. Previous season images remain in each store’s media library but aren’t used unless you reassign them.
Most teams prefer Option 1 because next season you simply replace the images in the hub again—no need to re-upload, re-sync, or reassign across stores.
Sale or Promotion Banner Update:
- Create the sale banner in the central hub
- Sync on each store to pull the banner into the media library
- Add the banner to relevant pages/products
- When the promotion changes, replace the banner image in the hub (same filename or reference)
- All connected stores automatically display the updated banner—no need to touch individual sites
Image Correction:
- Notice an error in a product image
- Upload the corrected version to the central hub, replacing the original file
- The corrected image automatically replaces the old version across all stores using that image
- No need to track down which stores have the old version or manually update each one
The key advantage: replacing images in the hub automatically updates them everywhere they’re used. This is where the real time savings happen.
Metadata Synchronization (How It Works)
Alt text, titles, and descriptions are synced from the central hub to connected stores when images are first imported. Because metadata often requires localization or store-specific edits, any changes made later in the hub will not overwrite modifications made on connected sites. In short: metadata sync happens on initial import only.
This behavior ensures each store can safely adjust its own metadata without losing localized edits during future syncs. References to “Add metadata that will sync to connected stores” should be understood as: sync occurs during the first import of a new image.
Building a Centralized WooCommerce Image Management System
What You Need
Central Image Hub: A single source of truth for all product images, organized by client, brand, or website. This should support:
- Bulk uploads
- Catalog organization for access control
- Automatic image optimization (WebP conversion, compression)
- CDN delivery for fast loading worldwide
WordPress Plugin Integration: A plugin that connects each WooCommerce store to your central hub and handles:
- Image syncing from hub to store
- WordPress media library integration
- Automatic updates when images are replaced in the hub
- Metadata synchronization (alt text, titles, descriptions) on initial import only; later hub edits do not overwrite localized store changes
CDN Delivery: All images delivered via CDN for fast loading across all stores, regardless of where stores are hosted or where customers are located.
Implementation Steps
Step 1: Audit Your Current Product Images
- Identify all product images currently in use across stores
- Standardize naming conventions for easier management
- Organize by client, brand, or website
- Identify duplicates and outdated images
Step 2: Set Up Central Image Hub
- Choose a centralized image management platform
- Create catalogs for each client, brand, or website (depending on how you want to organize access)
- Upload master product images with proper naming
- Add metadata (alt text, titles, descriptions) that will sync to connected stores on first import only
Step 3: Connect WooCommerce Stores
- Install the sync plugin on each WooCommerce store
- Connect each store to your central image hub using its unique catalog key
- Each store connects to one specific catalog
Step 4: Initial Sync
- On each connected store, click sync to pull existing images from the hub into the media library
- Verify images appear correctly in each store’s media library
- Confirm that metadata synced properly on this initial import
Step 5: Establish Ongoing Workflow
- Train the team on the new workflow: upload to the hub, not individual stores
- Document processes for product launches and updates
- Establish catalog organization standards (which clients/brands get which catalogs)
- Set up quality control checks for new image uploads
How Catalog Organization Works
Each connected WooCommerce store syncs to one specific catalog in your central hub. This gives you flexible control over which stores have access to which images:
Organize by Client: If you manage multiple clients, create a catalog for each client. All of that client’s stores connect to the same catalog and share the same image pool.
Organize by Brand: If a client has multiple brands, create a catalog for each brand. Stores for Brand A connect to Catalog A, stores for Brand B connect to Catalog B.
Organize by Website: If you need complete separation (e.g., different product lines with no image overlap), create a catalog for each individual website.
Mixed Approach: You can combine strategies—some clients get one shared catalog, others get separate catalogs per brand or per website.
When you upload images to a catalog, only the stores connected to that catalog can sync and use those images. This keeps image libraries organized and prevents stores from accessing images they shouldn’t use.
Handling Store-Specific Images
Not every image needs to be synced from the central hub. Connected stores can maintain both:
- Synced images from the central hub (shared across multiple stores)
- Local images uploaded directly to that store (store-specific content)
This is useful for:
- Region-specific compliance labels or disclaimers
- Store-specific promotions or events
- Localized content that doesn’t apply to other stores
Local images work exactly like normal WordPress images. Synced images from the hub get automatic updates when you replace them in the hub; local images don’t.
Image Optimization: Images synced from the hub are automatically optimized (WebP conversion, compression) before delivery. Local images need to be optimized using the store’s own optimization tools or plugins.

ROI: What You’ll Save
Let’s calculate the return on investment for centralizing WooCommerce product image management.
Time Savings Example (10 WooCommerce stores):
Current Manual Process:
- Product launches: 50 hours/month
- Seasonal updates: 50 hours/quarter (16.7 hours/month)
- Sale/promotion banner updates: 10 hours/month
- Ad-hoc updates and corrections: 15 hours/month
- Total: ~92 hours/month
With Centralized Management:
- Product launches: 10 hours/month (upload once, sync to 10 stores, assign)
- Seasonal updates: 10 hours/quarter (3.3 hours/month)
- Sale/promotion banner updates: 2 hours/month (replace image in hub, auto-updates everywhere)
- Ad-hoc updates: 1 hour/month (replace in hub, auto-updates everywhere)
- Total: ~16 hours/month
Monthly time savings: 76 hours
At $50/hour (blended rate for agency team members), that’s $3,800/month in labor savings or $45,600/year.
Where the Savings Come From:
The biggest time savings come from image replacements, not initial uploads. When you need to update an existing image:
- Manual process: Log into 10 stores, find the image in each media library, upload replacement, verify it updated everywhere = 30–60 minutes
- Centralized process: Replace image in hub = 2 minutes, automatic update across all stores
For agencies running frequent promotions, seasonal updates, or product photo refreshes, this is where centralized image management pays for itself many times over.
Qualitative Benefits:
- Faster product launches (competitive advantage)
- Consistent brand presentation across all stores (increased trust and conversions)
- Reduced human error (fewer incorrect or outdated images)
- Team morale improvement (eliminating repetitive work)
- Scalability (adding new stores doesn’t multiply image management workload proportionally)
For agencies managing multiple clients with multi-store WooCommerce setups, the ROI multiplies with each additional client.
Real-World Use Case: Multi-Location Retail Franchise
Scenario: A fitness supplement brand operates 15 franchise locations, each with its own WooCommerce store. They carry 200 core products, with new products added monthly and seasonal promotions quarterly.
Before Centralized Image Management:
- New product launch (10 products/month, 4 images each): 5 hours
- Seasonal promotion (updating 50 product images): 25 hours/quarter
- Monthly banner updates (hero + category banners): 8 hours/month
- Ad-hoc updates (supplier photo updates, corrections): 10 hours/month
- Total: ~31 hours/month
After Centralized Image Management:
- New product launch: 2 hours (upload to hub once, sync on 15 stores, assign)
- Seasonal promotion: 6 hours/quarter (2 hours/month)
- Monthly banner updates: 30 minutes (replace banners in hub, auto-updates across all stores)
- Ad-hoc updates: 30 minutes (replace in hub, auto-updates)
- Total: ~4 hours/month
Result:
- 27 hours/month saved
- $1,350+/month in labor savings ($16,200/year)
- Faster time-to-market for new products
- Zero image inconsistencies across stores
- Banner and promotional image updates happen in minutes instead of hours
The franchise can now run weekly promotional banner changes without the workload that previously made this impossible.
Getting Started
If you’re ready to stop manually uploading the same product images to multiple WooCommerce stores, here’s how to get started:
- Map your current workflow — Document how long image management actually takes across all your stores
- Identify your biggest pain points — Is it new product launches? Seasonal updates? Promotional banner changes?
- Calculate your current costs — Hours spent × hourly rate = monthly cost of manual image management
- Test with a pilot client — Start with one client’s stores to validate the workflow before rolling out across your entire agency
- Train your team — The biggest efficiency gains come when everyone adopts the new workflow consistently
The real power comes from automatic image updates. When you can replace a promotional banner or product photo once and have it update across 10, 15, or 20 stores instantly, you’ve eliminated the bottleneck that makes multi-store WooCommerce management so painful.
Ready to implement centralized image sync for your WooCommerce sites? Start with 5 free images to test the technical integration.